
I decided I wanted to go with a traditional blue color, as I've been wanting to paint "something" blue for a while the standard scheme seemed to fit with what I wanted to do. The only thing off standard I went with was I did go with the orange fur. I think it looks fantastic against the blue, and while it is a bit out there I love it. The paints I used are from a few lines, I didn't plan this one well, so I used what I had.
On with a guide on how I did it, though really it's a "document so I don't forget how I did it" post.
I did have to spend some time green stuffing in some gaps, like most Privateer Press plastics this guy had some gaps. I think the funny plastic that they use just doesn't lend itself well to conformity. It may be easy to cast, or have other advantages, but it stinks in lining up with other pieces. I can say I would much rather work with this then metal. I am really glad having been away from Privateer Press for a while that when I came back I see plenty of plastic options.
I used a white primer, and then with an airbrush I based the model with P3 Trollblood Base.
 I
I
I then sprayed a highlight coat of P3 Underbelly Blue.

I then used a highlight coat of P3 Morrow white.

I then used GW Drakenhof Nightshade. It's their blue shading color. This brought darkened the model and helped even out the highlights.

I missed a picture here, I used my secret weapon violet pigment in the shadows to build up some different shadows then just the wash. I applied the pigment dry, then I used GW Purity Seal spray to hold it in.
After that I used GW Squig Orange to paint the fur.

I highlighted the hair with GW Trollslayer Orange.


The rocks then got a highlight of GW Graveyard Earth.

The rocks got a final highlight of GW Karak Stone.

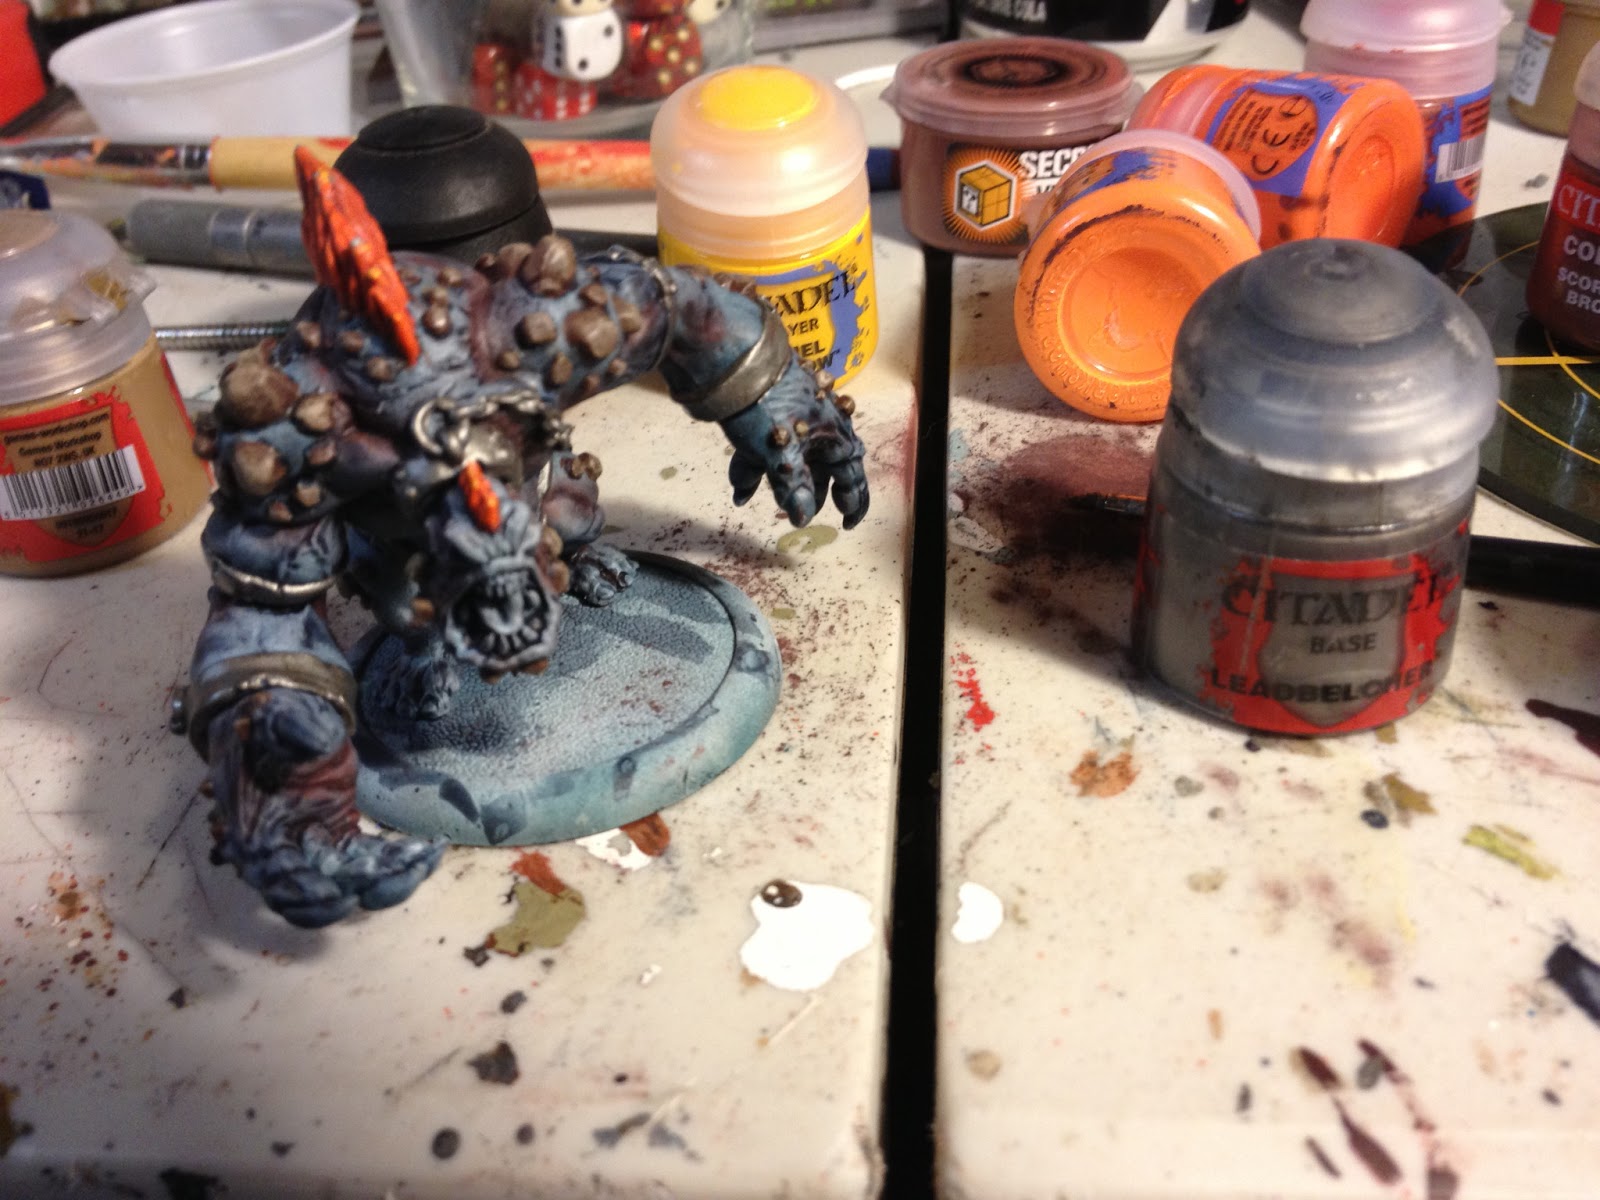
The nails got a base of GW Karak Stone. The paint i wrong in the picture, I think I forgot to move it.

While the nails were drying I started on the loincloth, and went with GW Steel Legion Drab.

Going back to the nails I added some GW Ushabti Bone as a highlight.

Waiting again for the nails to dry, I started working on the tongue. I decided a nice purple tongue would work and went with GW Liche Purple.

For the final nail highlight I went with GW Screaming Skull on the tips.

I went back to the tongue and used GW Warlock Purple as highlight.

I've still got a bit to too, but so far I am really happy with this guy.

Nice! The purple pigment, especially on his back, looks fantastic.
ReplyDeleteNice job. I like your highlighting. What is your technique/method for highlighting? My mauler is at : http://www.christophervigliotti.com/2014/06/trollbloods-dire-troll-mauler-unfinished/
ReplyDelete